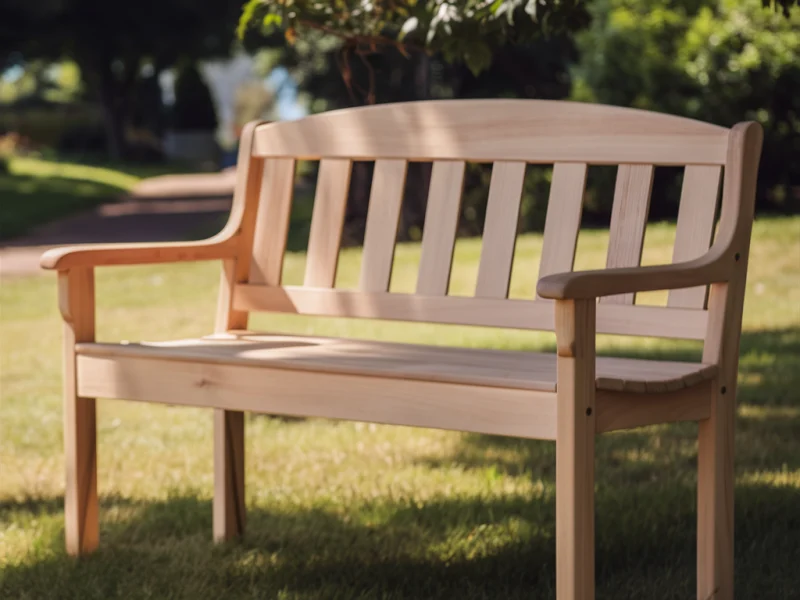
Woodworking is not only a fulfilling hobby but also a profitable venture if you choose the right projects. In this article, we’ll explore four popular woodworking projects that are not only fun to build but also have great market potential. These projects include rustic coffee tables, Adirondack chairs, floating shelves, and wine racks. Each section will guide you through the reasons to build these items, the steps to success, and some pro tips to ensure your projects stand out in the market.
Access Our Database of over 16,000 Step-By-Step “Done-For-You” Plans

Rustic Coffee Table: Warmth and Style ☕
Why Build a Rustic Coffee Table?
A rustic coffee table adds a touch of warmth and charm to any living room. Its timeless appeal and functional design make it a desirable piece of furniture for many homeowners. Building a rustic coffee table can also be a rewarding project that showcases your woodworking skills and creativity.
Steps to Success
- Select Your Wood: Choose reclaimed wood or new wood with a rustic look. Oak, pine, or cedar are excellent choices.
- Design the Table: Sketch a simple design with dimensions. A rustic table often features a solid top and sturdy legs.
- Cut the Pieces: Measure and cut the wood pieces according to your design. Ensure all pieces are cut to the exact measurements.
- Assemble the Frame: Start by assembling the table frame. Use wood glue and screws to secure the joints.
- Attach the Top: Once the frame is sturdy, attach the tabletop. Ensure it is level and secure.
- Finish: Sand the table to smooth any rough edges. Apply a wood stain or paint to achieve the desired rustic look. Finish with a clear sealant.
Pro Tips
- Distressing the Wood: For an authentic rustic appearance, distress the wood using tools like hammers, chains, or sandpaper.
- Stain Selection: Choose a stain that enhances the natural grain of the wood. Test on a scrap piece first.
- Durable Finish: Apply multiple coats of sealant for durability, especially if the table will be used frequently.
Access Our Database of over 16,000 Step-By-Step “Done-For-You” Plans
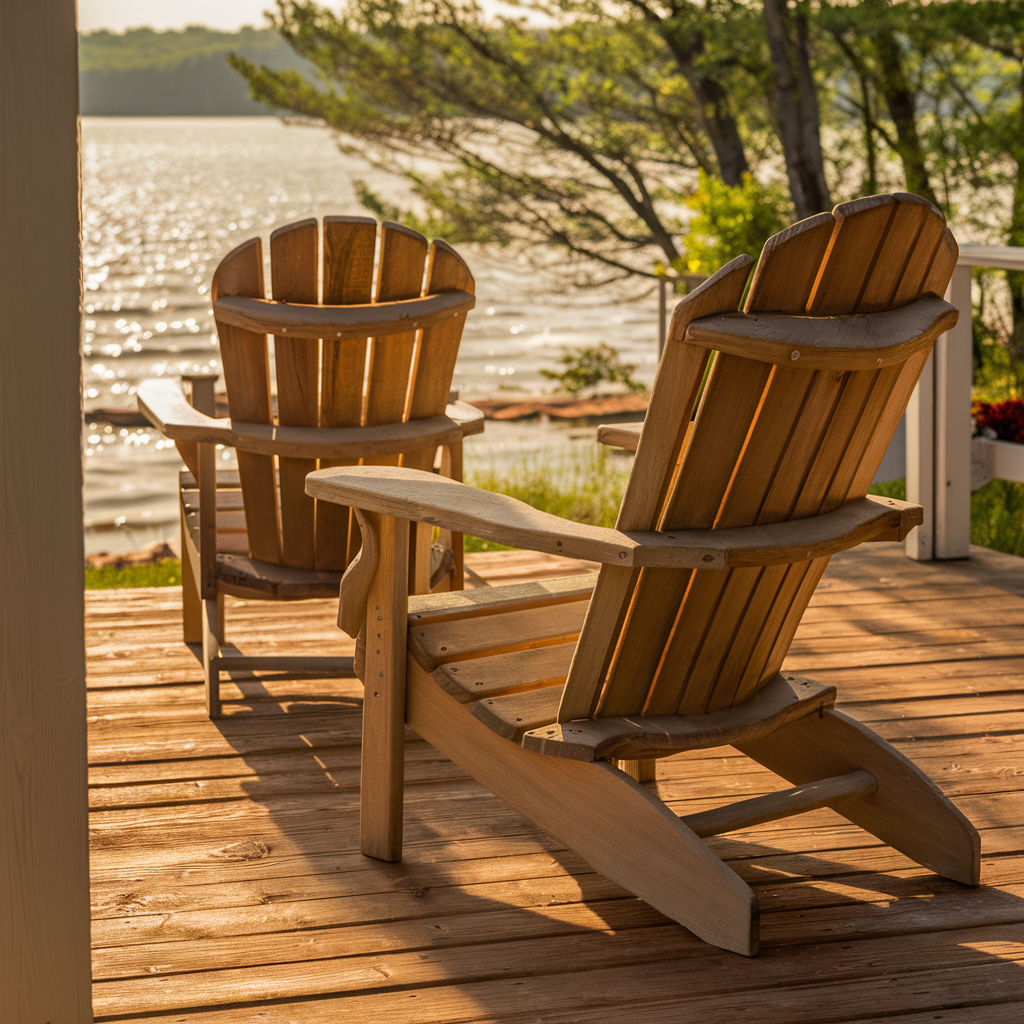
Adirondack Chairs: Outdoor Relaxation 🌳🪑
Why Build Adirondack Chairs?
Adirondack chairs are a classic choice for outdoor furniture. They offer comfort and style, making them perfect for gardens, patios, or decks. Building Adirondack chairs can be a satisfying project, and their popularity ensures they are a sought-after item for selling.
Steps to Success
- Choose the Right Wood: Cedar, teak, or redwood are excellent for outdoor furniture due to their resistance to weather.
- Create a Template: Use a template or create your own for the chair parts. This ensures consistency and accuracy.
- Cut the Parts: Carefully cut all parts using a jigsaw or band saw. Smooth the edges with sandpaper.
- Assemble the Chair: Start with the frame and then attach the seat, back, and arms. Use weather-resistant screws and glue.
- Sand and Finish: Sand the entire chair to smooth out any rough spots. Apply a weather-resistant finish to protect the wood.
Pro Tips
- Comfortable Design: Slightly angle the backrest for better comfort.
- Quality Hardware: Use stainless steel or galvanized screws to prevent rusting.
- Extra Support: Add extra bracing to the legs for additional support and longevity.
Access Our Database of over 16,000 Step-By-Step “Done-For-You” Plans
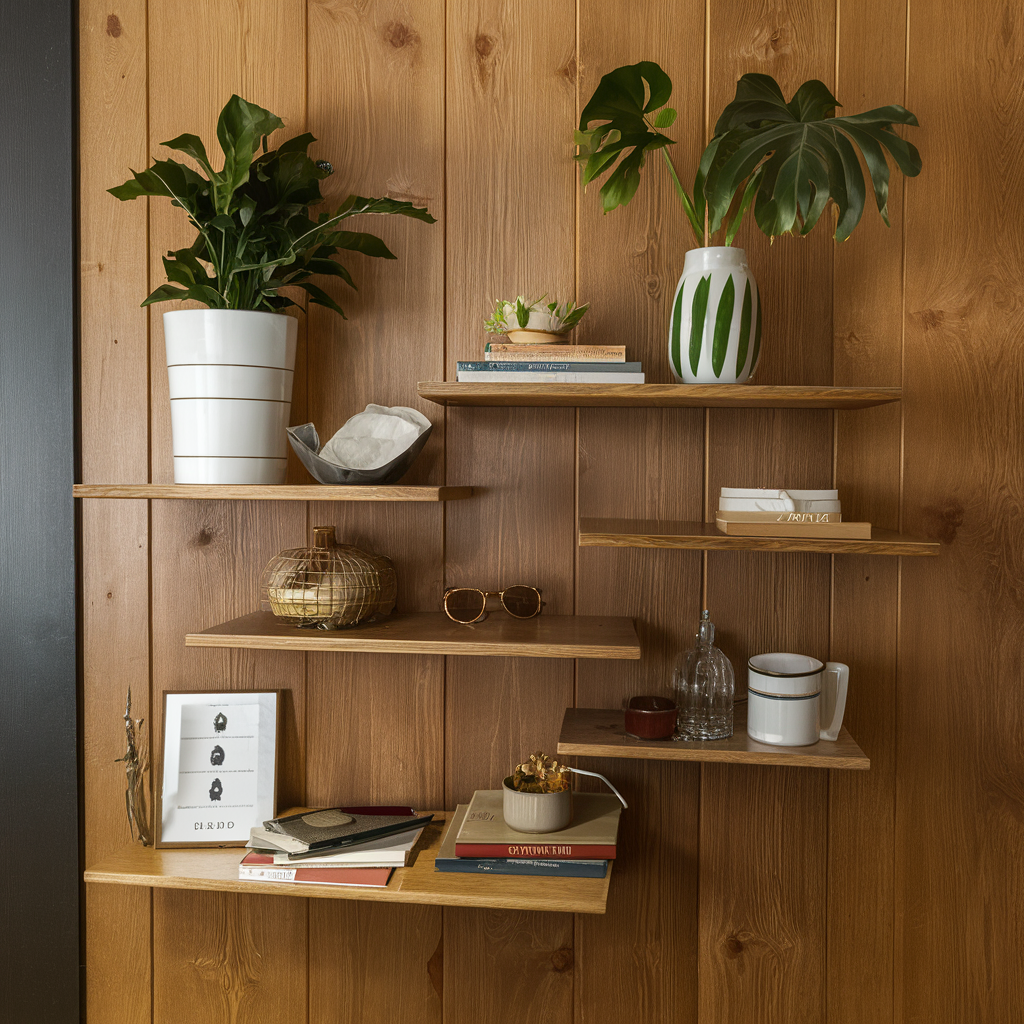
Floating Shelves: Modern Minimalist Storage 📚
Why Build Floating Shelves?
Floating shelves offer a sleek, modern storage solution that fits well in any room. Their minimalist design makes them versatile and in high demand. Building floating shelves is relatively simple, making it an ideal project for both beginners and experienced woodworkers.
Steps to Success
- Select Your Materials: Choose high-quality wood or plywood for the shelves. Ensure the wood is straight and free of defects.
- Cut the Shelves: Measure and cut the shelves to your desired length and width. Sand the edges smooth.
- Build the Brackets: Construct the hidden brackets that will support the shelves. Ensure they are sturdy and can hold the weight.
- Install the Brackets: Securely attach the brackets to the wall, making sure they are level and properly anchored.
- Mount the Shelves: Slide the shelves onto the brackets. Secure them with screws or nails if necessary.
Pro Tips
- Level Installation: Use a level to ensure the shelves are perfectly horizontal.
- Strong Anchors: Use wall anchors suitable for the wall type to ensure the shelves are secure.
- Custom Finishes: Paint or stain the shelves to match your room decor.
Access Our Database of over 16,000 Step-By-Step “Done-For-You” Plans
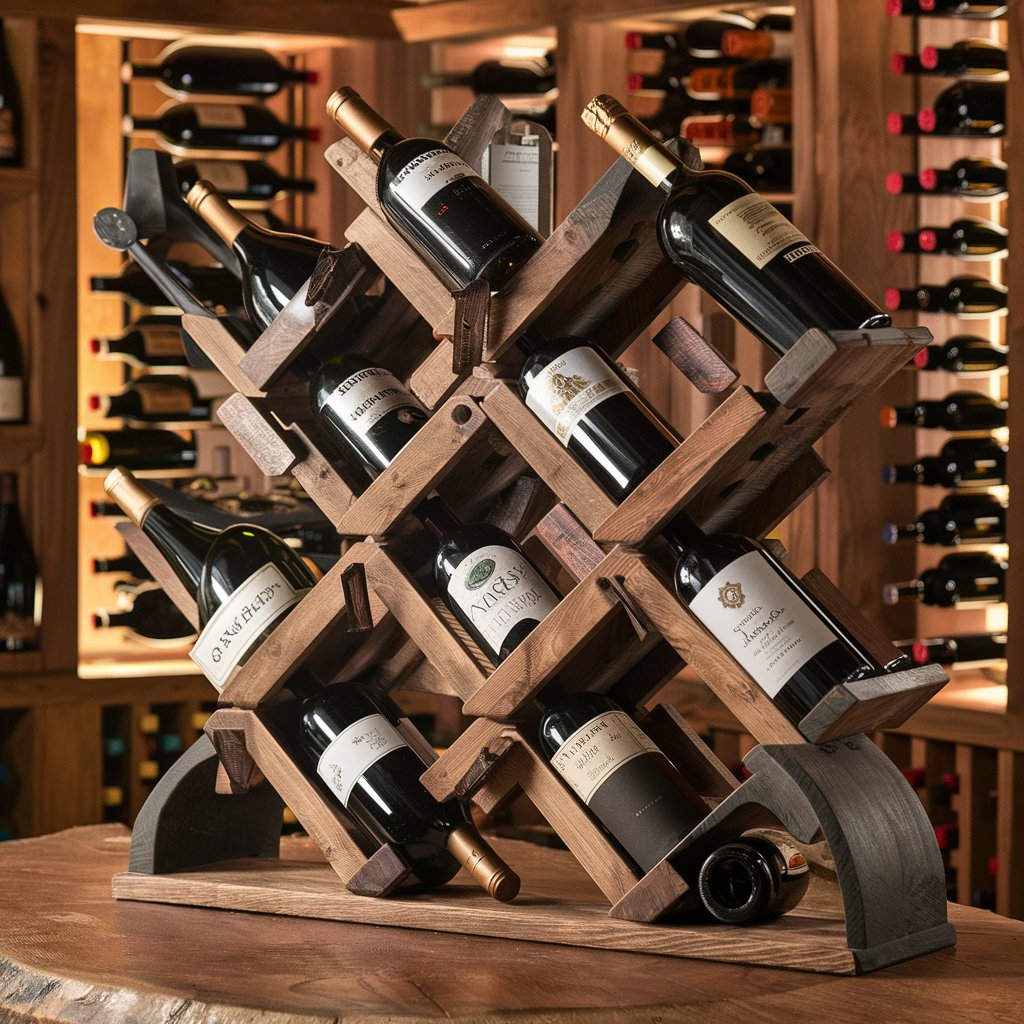
Wine Racks: Stylish Bottle Display 🍷🍾
Why Build Wine Racks?
Wine racks are both functional and decorative, making them a great addition to kitchens or dining rooms. They help organize and display wine bottles elegantly. Building wine racks can be a profitable project, especially for wine enthusiasts who value unique and stylish storage solutions.
Steps to Success
- Select the Wood: Choose hardwoods like oak, cherry, or walnut for durability and aesthetic appeal.
- Design Your Rack: Create a design that fits your space and bottle storage needs. Include dimensions and spacing for bottles.
- Cut the Pieces: Measure and cut the wood pieces according to your design. Sand the edges smooth.
- Assemble the Rack: Start by assembling the frame and then add the individual bottle holders. Use wood glue and nails for secure joints.
- Finish the Rack: Sand the entire rack to smooth out any rough spots. Apply a finish that complements your decor.
Pro Tips
- Stable Base: Ensure the base is wide enough to prevent tipping over.
- Custom Features: Add features like a drawer or glass holder for added functionality.
- Proper Spacing: Ensure enough space between holders to accommodate different bottle sizes.
Access Our Database of over 16,000 Step-By-Step “Done-For-You” Plans
Woodworking projects not only bring a sense of accomplishment but can also be a lucrative venture if you choose the right projects. Rustic coffee tables, Adirondack chairs, floating shelves, and wine racks are popular items that sell well. By following the steps and tips provided, you can create high-quality pieces that attract buyers and enhance living spaces. Happy woodworking!
Access Our Database of over 16,000 Step-By-Step “Done-For-You” Plans

