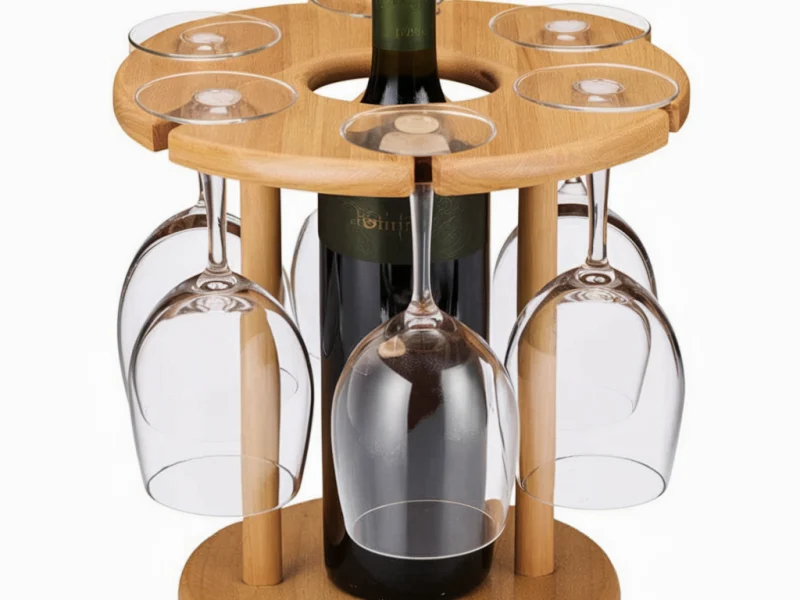
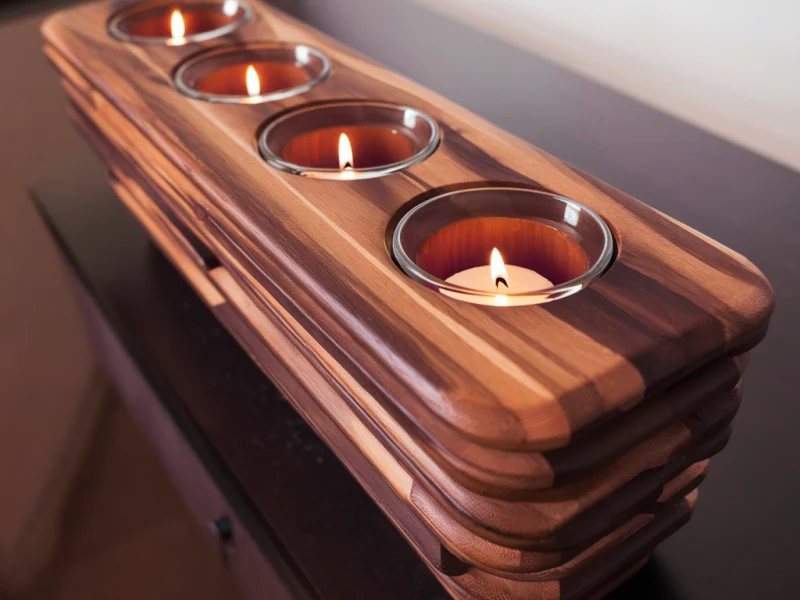
Woodworking gifts are a perfect blend of craftsmanship and thoughtfulness. Creating beautiful, functional pieces can be incredibly rewarding, especially when they become cherished gifts. In this article, we’ll explore four woodworking projects that make excellent gifts: a jewelry organizer, a personalized picture frame, a handmade jewelry box, and an elegant serving tray. Each section will guide you through the reasons to build these items, the steps to success, and some pro tips to ensure your projects are a hit.
Access Our Database of over 16,000 Step-By-Step “Done-For-You” Plans
Jewelry Organizer: Stylish Accessory Storage 💍
Why Build a Jewelry Organizer?
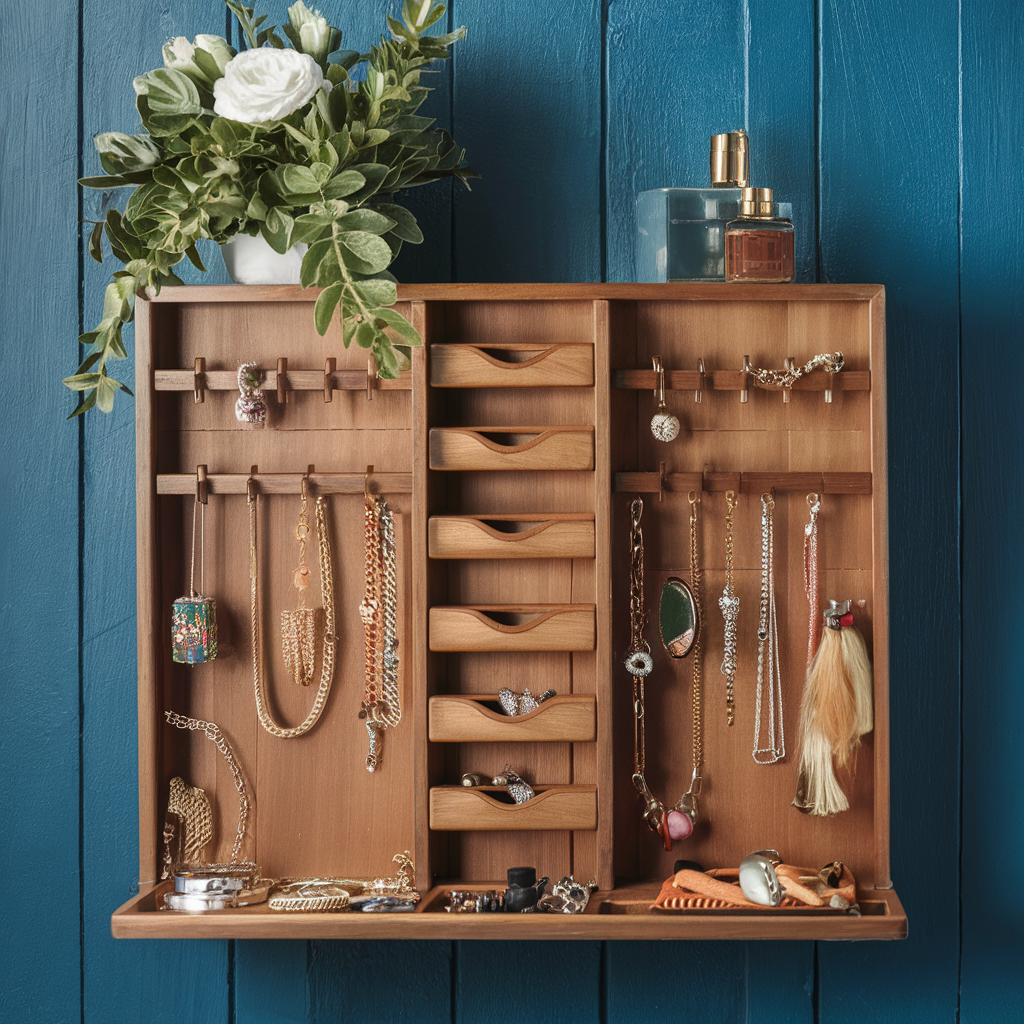
A jewelry organizer is a practical and elegant gift that helps keep accessories neatly sorted and easily accessible. It combines beauty with functionality, making it a thoughtful present for anyone who loves jewelry. Plus, it’s a project that showcases your woodworking skills and attention to detail.
Steps to Success
- Choose the Wood: Select a hardwood like oak, maple, or walnut for durability and aesthetic appeal.
- Design the Organizer: Sketch a design that includes compartments for different types of jewelry. Consider adding hooks for necklaces and small trays for rings and earrings.
- Cut the Pieces: Measure and cut the wood pieces according to your design. Use a miter saw for precision cuts.
- Assemble the Organizer: Start by assembling the frame. Attach the compartments and any additional features like hooks or drawers.
- Finish: Sand the entire organizer to remove any rough edges. Apply a wood stain or paint to enhance the wood’s natural beauty. Finish with a clear coat for protection.
Pro Tips
- Felt Lining: Add felt lining to the compartments to protect delicate jewelry from scratches.
- Custom Engravings: Personalize the organizer with engravings or decorative accents.
- Magnetic Closure: Consider adding a magnetic closure to any drawers or lids for secure storage.
Access Our Database of over 16,000 Step-By-Step “Done-For-You” Plans
Personalized Picture Frame: Cherished Memories 🖼️
Why Build a Personalized Picture Frame?
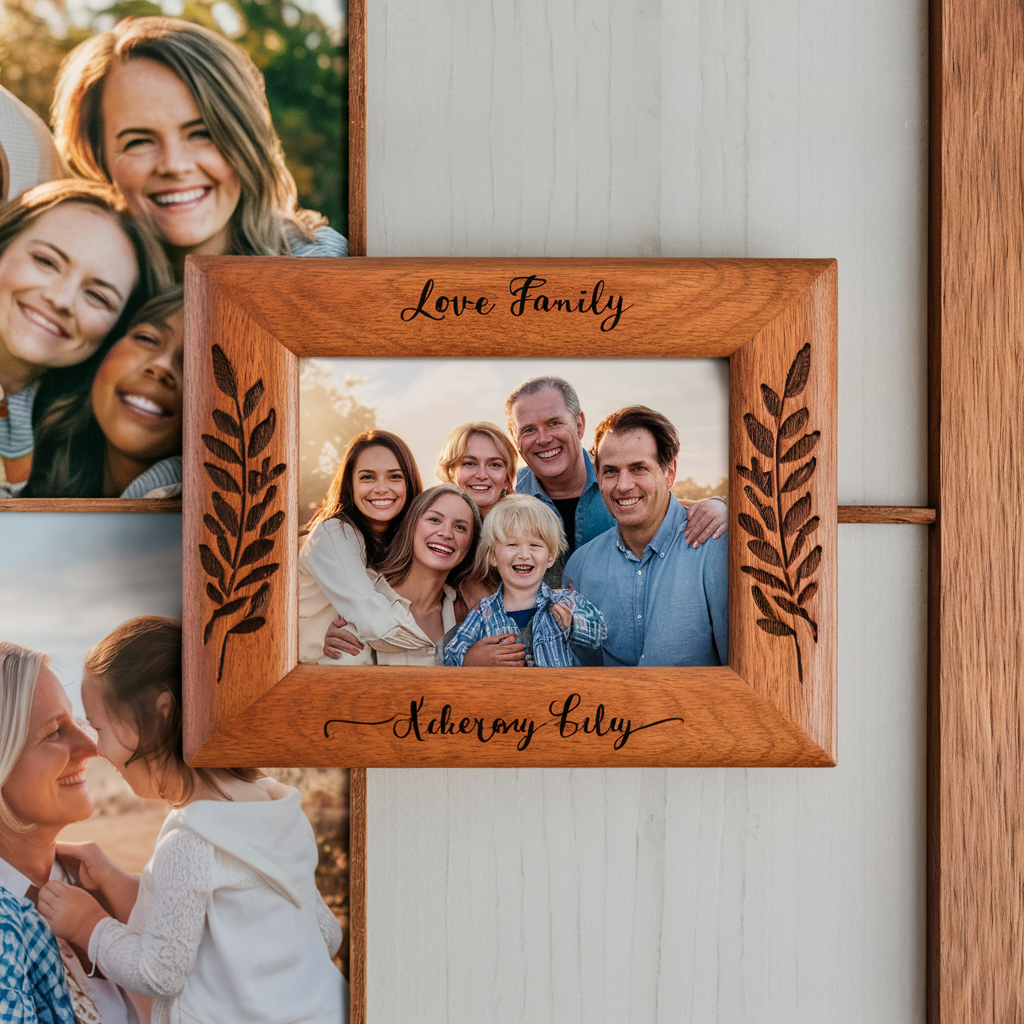
A personalized picture frame is a heartfelt gift that showcases cherished memories with a personal touch. It’s perfect for birthdays, anniversaries, or any special occasion. Building a custom picture frame allows you to create a unique piece that reflects the recipient’s personality and style.
Steps to Success
- Select the Wood: Choose a wood that complements the decor, such as cherry, mahogany, or pine.
- Design the Frame: Sketch a simple frame design. Decide on the size and shape, and consider adding decorative elements.
- Cut the Frame Pieces: Measure and cut the wood to size. Use a miter saw to create precise 45-degree angles for the corners.
- Assemble the Frame: Glue and clamp the corners together. Reinforce with nails or corner brackets for added stability.
- Finish: Sand the frame to smooth out any rough spots. Apply a stain or paint, and finish with a clear coat. Add a backing and glass to complete the frame.
Pro Tips
- Decorative Accents: Add decorative elements like carvings, inlays, or painted designs to personalize the frame.
- Matting: Include a custom mat to enhance the photo and add a professional touch.
- Engraving: Engrave the recipient’s name, a special date, or a meaningful quote on the frame.
Access Our Database of over 16,000 Step-By-Step “Done-For-You” Plans
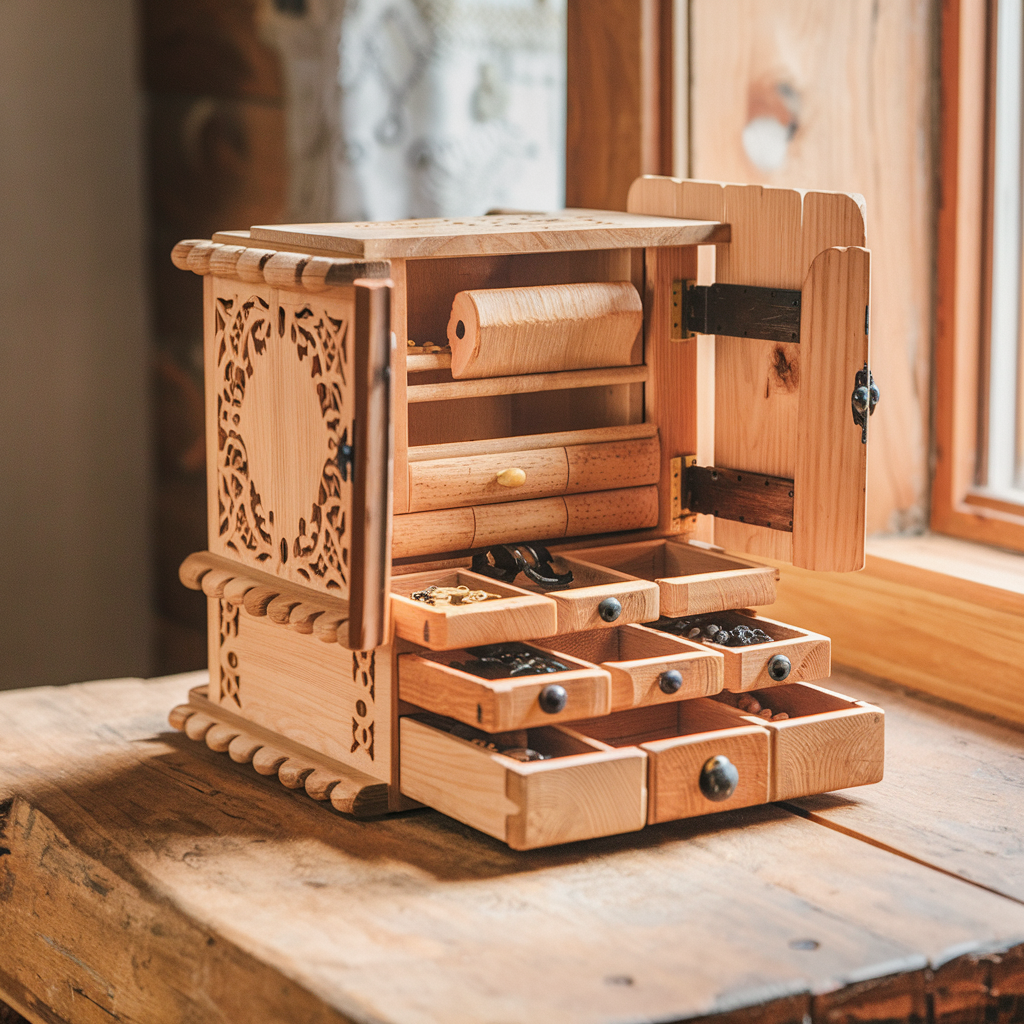
Handmade Jewelry Box: Treasured Storage 💎
Why Build a Handmade Jewelry Box?
A handmade jewelry box is a timeless gift that provides beautiful storage for treasured accessories. It’s a project that allows you to showcase your craftsmanship and create a functional, elegant piece. A jewelry box can be customized to suit the recipient’s taste and style, making it a very personal gift.
Steps to Success
- Choose the Wood: Select a high-quality hardwood like walnut, cherry, or maple.
- Design the Box: Sketch a design that includes compartments for different types of jewelry. Consider adding a hinged lid, drawers, or hidden compartments.
- Cut the Pieces: Measure and cut the wood pieces according to your design. Use precision tools for clean cuts.
- Assemble the Box: Start with the main box frame. Attach the compartments, drawers, and lid. Ensure everything fits snugly.
- Finish: Sand the entire box to remove any rough edges. Apply a stain or paint to enhance the wood’s natural beauty. Finish with a clear coat for protection.
Pro Tips
- Soft Lining: Line the compartments with velvet or felt to protect jewelry.
- Custom Hardware: Use decorative hinges, locks, or knobs to add a unique touch.
- Inlay Work: Add inlay designs using contrasting wood or other materials for a beautiful, detailed finish.
Access Our Database of over 16,000 Step-By-Step “Done-For-You” Plans

Elegant Serving Tray: Stylish Entertaining 🍽️
Why Build an Elegant Serving Tray?
An elegant serving tray is a versatile and stylish gift, ideal for entertaining guests or enjoying breakfast in bed. It’s a project that combines functionality with aesthetic appeal, making it a great addition to any home. A handcrafted serving tray showcases your woodworking skills and makes a thoughtful, practical gift.
Steps to Success
- Select the Wood: Choose a durable wood like walnut, maple, or oak for a sturdy tray.
- Design the Tray: Sketch a design that includes handles and possibly a decorative inlay or patterned bottom.
- Cut the Pieces: Measure and cut the wood pieces to size. Ensure the handles are comfortable to grip.
- Assemble the Tray: Start with the tray base and attach the sides. Add the handles and any decorative elements.
- Finish: Sand the tray to smooth out any rough spots. Apply a stain or paint, and finish with a food-safe clear coat.
Pro Tips
- Decorative Inlays: Add inlays using contrasting woods or other materials for a unique design.
- Non-Slip Surface: Consider adding a non-slip coating or lining to the tray’s bottom for practicality.
- Custom Handles: Use decorative handles that complement the tray’s design and add a touch of elegance.
Access Our Database of over 16,000 Step-By-Step “Done-For-You” Plans
Woodworking gift projects are a wonderful way to create meaningful and personalized presents. Jewelry organizers, personalized picture frames, handmade jewelry boxes, and elegant serving trays are not only beautiful but also functional gifts that recipients will cherish. By following the steps and tips provided, you can create high-quality pieces that showcase your craftsmanship and thoughtfulness. Happy woodworking!
Access Our Database of over 16,000 Step-By-Step “Done-For-You” Plans

