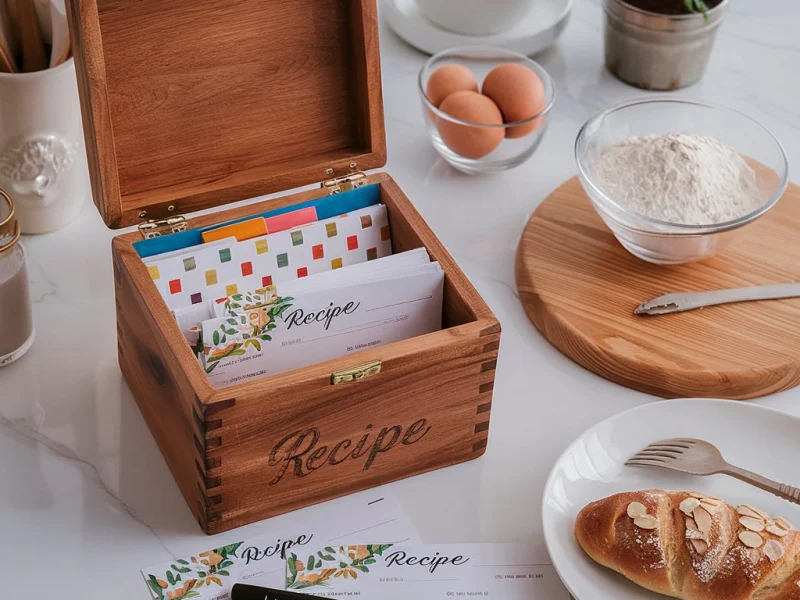
Small wood projects are a fantastic way to hone your woodworking skills and create beautiful, functional items for your home or as gifts. In this article, we’ll explore four charming projects: wooden coasters, a pen holder, tea light candle holders, and a wooden keychain. Each section will explain why these items are worth building, provide steps to success, and offer pro tips to ensure your projects turn out perfectly.
Access Our Database of over 16,000 Step-By-Step “Done-For-You” Plans
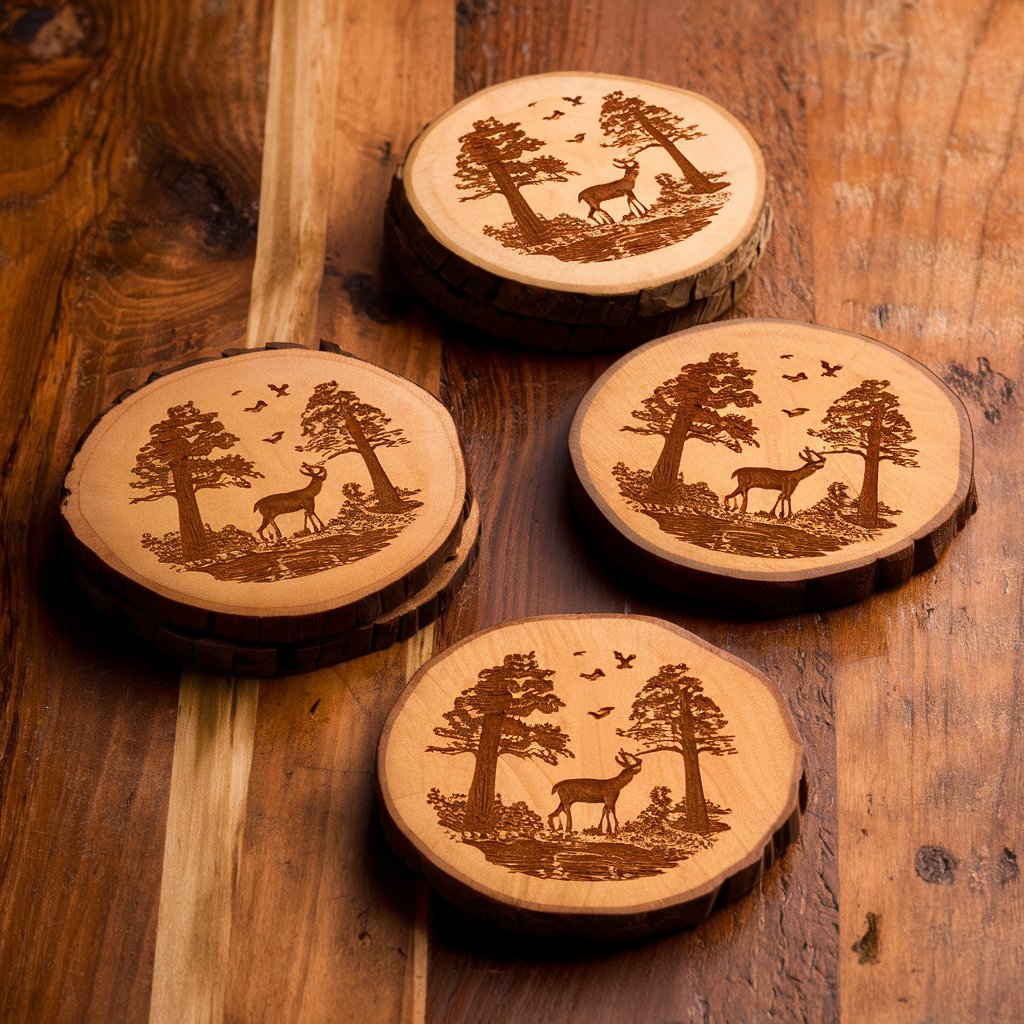
Wooden Coasters: Rustic Table Protection 🪵🍷
Why Build Wooden Coasters?
Wooden coasters are a stylish way to protect your tabletops from scratches and water damage. They add a rustic touch to your decor and can be customized to match any style. Building wooden coasters is a simple project that can be completed in a short time, making them perfect for beginners and experienced woodworkers alike.
Steps to Success
- Choose the Wood: Select a hardwood like oak, maple, or walnut for durability.
- Design the Coasters: Sketch a design that includes the dimensions and any additional features like carvings or inlays.
- Cut the Wood: Measure and cut the wood pieces into squares or circles. Sand the edges smooth.
- Finish the Coasters: Sand the entire coaster to remove any rough spots. Apply a stain or paint to match your decor. Finish with a clear coat to protect the wood.
Pro Tips
- Unique Designs: Create unique designs by using different wood types or adding inlays.
- Custom Engravings: Consider adding custom engravings for a personalized touch.
- Protective Finish: Apply multiple coats of a water-resistant finish to protect the coasters from spills.
Access Our Database of over 16,000 Step-By-Step “Done-For-You” Plans
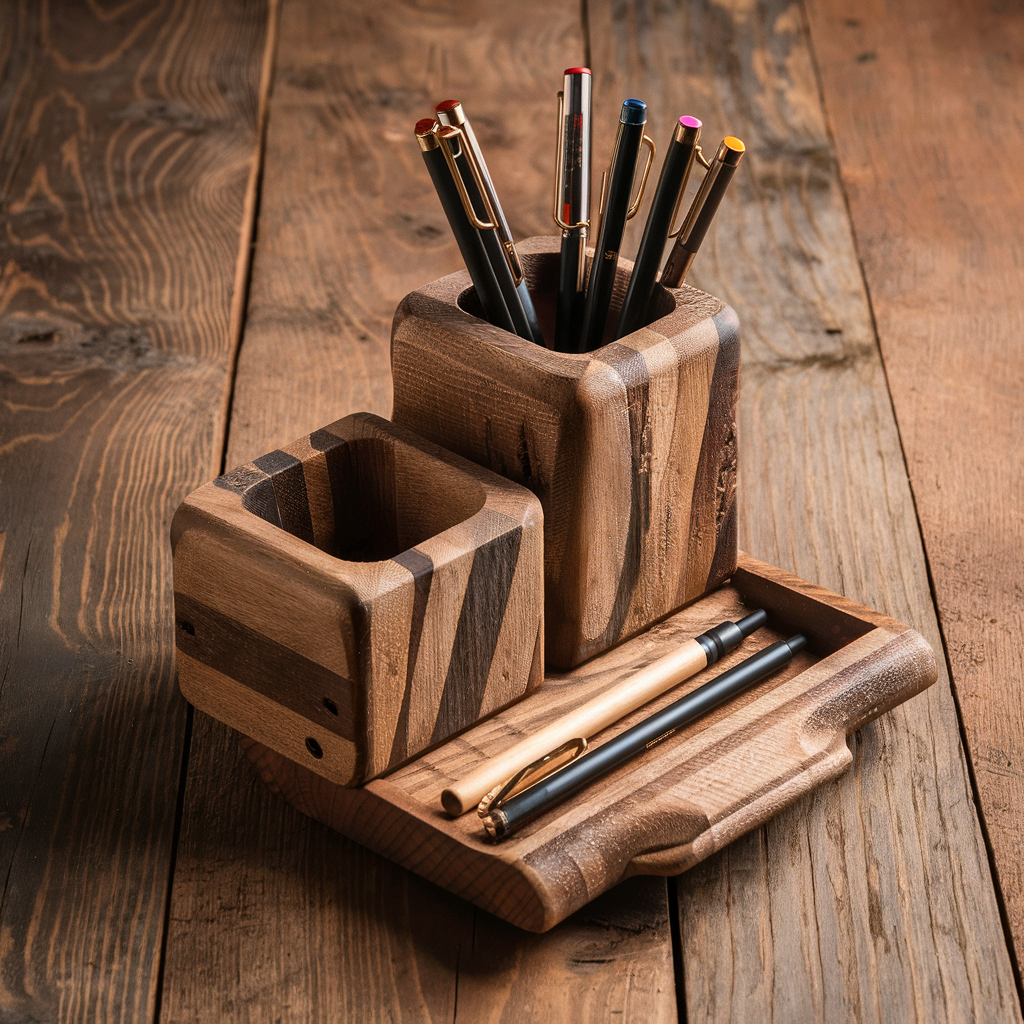
Pen Holder: Organized Desk Space 🖊️📏
Why Build a Pen Holder?
A pen holder is a practical and stylish way to keep your desk organized. It helps you keep pens, pencils, and other supplies within easy reach while adding a touch of craftsmanship to your workspace. Building a pen holder is a straightforward project that allows for plenty of customization.
Steps to Success
- Select the Wood: Choose a wood that complements your desk, such as cherry, walnut, or maple.
- Design the Pen Holder: Sketch a design that includes the dimensions and the number of compartments.
- Cut the Pieces: Measure and cut the wood pieces according to your design. Sand the edges smooth.
- Assemble the Holder: Start with the base and sides, then add the compartments. Secure with screws and wood glue.
- Finish: Sand the entire holder to remove any rough spots. Apply a stain or paint to match your decor. Finish with a clear coat for protection.
Pro Tips
- Custom Compartments: Customize the compartments to fit your specific needs.
- Decorative Elements: Add decorative elements like carvings or inlays to personalize the holder.
- Stable Base: Ensure the base is wide enough to prevent tipping over.
Access Our Database of over 16,000 Step-By-Step “Done-For-You” Plans
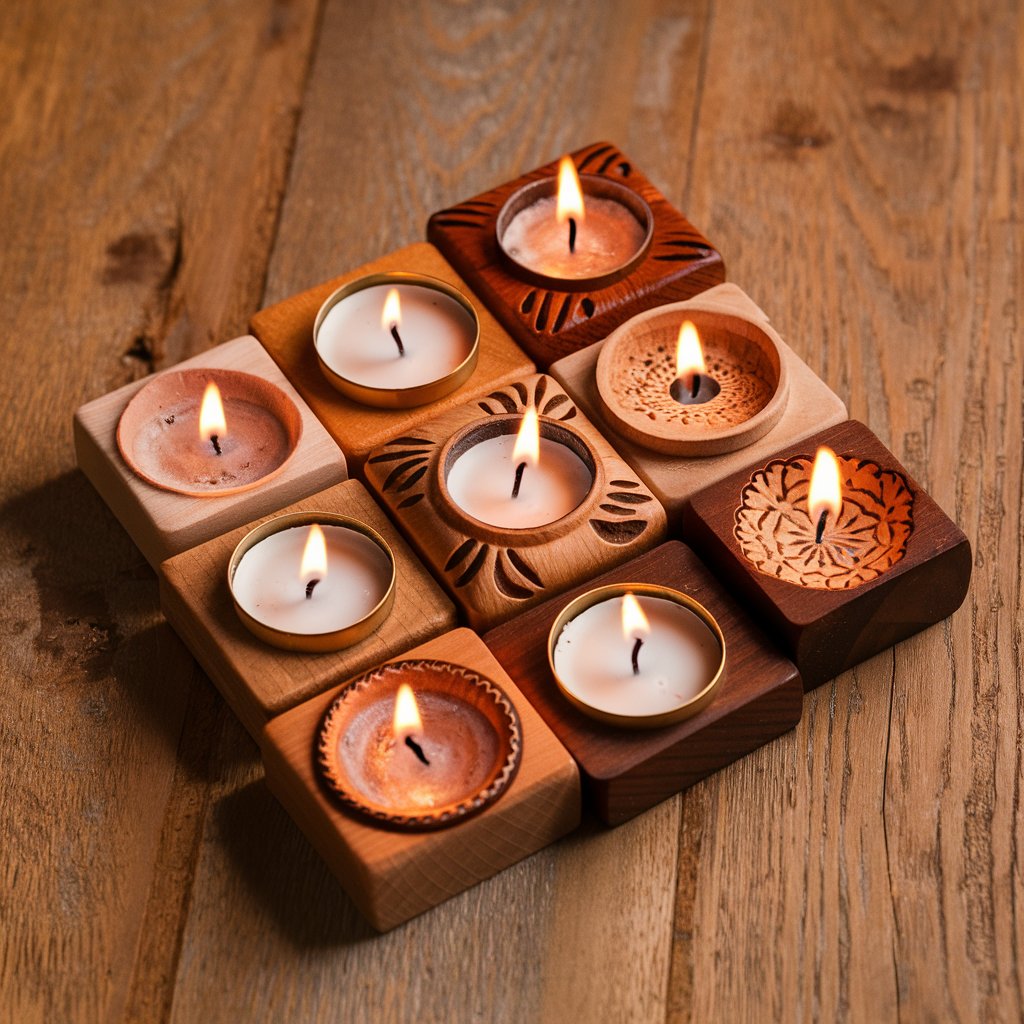
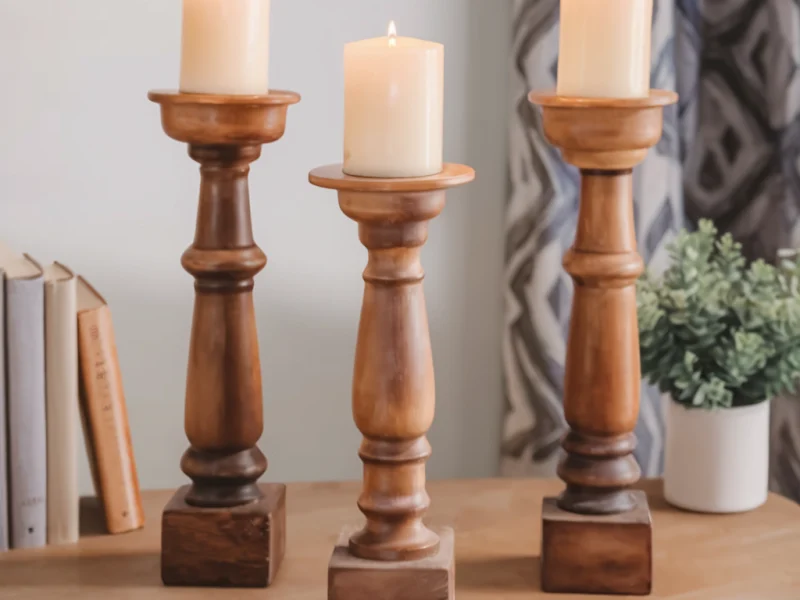
Tea Light Candle Holders: Warm Ambiance 🕯️🌿
Why Build Tea Light Candle Holders?
Tea light candle holders add warmth and ambiance to any space. They are small, easy to build, and make perfect gifts. Creating your own tea light candle holders allows you to experiment with different designs and finishes, making each one unique.
Steps to Success
- Choose the Wood: Select a wood with a beautiful grain pattern, such as oak, cherry, or walnut.
- Design the Candle Holders: Sketch a design that includes the dimensions and the size of the tea light candles.
- Cut the Pieces: Measure and cut the wood pieces to size. Sand the edges smooth.
- Drill the Holes: Use a drill or a Forstner bit to create the holes for the tea light candles.
- Finish: Sand the entire holder to remove any rough spots. Apply a stain or paint to enhance the wood’s natural beauty. Finish with a clear coat for protection.
Pro Tips
- Safety First: Ensure the candle holder is stable and won’t tip over easily.
- Heat Protection: Use metal inserts for the candle cups to protect the wood from heat.
- Decorative Elements: Add decorative elements like carvings or inlays to personalize the holder.
Access Our Database of over 16,000 Step-By-Step “Done-For-You” Plans
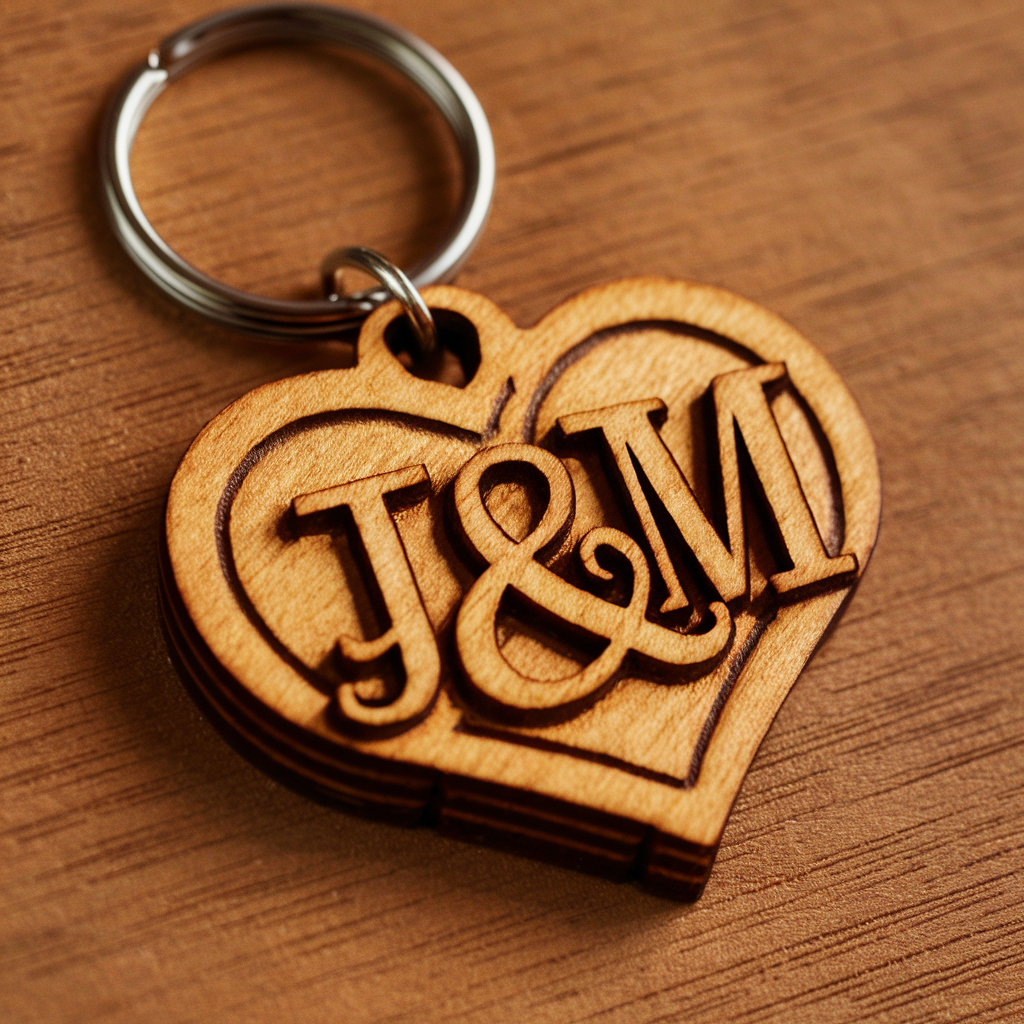
Wooden Keychain: Personal Touch 🔑🪚
Why Build a Wooden Keychain?
A wooden keychain is a small yet meaningful project that allows you to create personalized and functional items. They make great gifts and can be customized with initials, designs, or even small carvings. Building wooden keychains is a great way to use scrap wood and practice fine woodworking techniques.
Steps to Success
- Choose the Wood: Select a hardwood like maple, walnut, or cherry for durability.
- Design the Keychain: Sketch a design that includes the dimensions and any decorative elements.
- Cut the Pieces: Measure and cut the wood pieces to size. Sand the edges smooth.
- Drill the Hole: Drill a hole for the keyring using a small drill bit.
- Finish: Sand the entire keychain to remove any rough spots. Apply a stain or paint to match your decor. Finish with a clear coat for protection.
Pro Tips
- Custom Engravings: Add custom engravings or initials for a personalized touch.
- Protective Finish: Apply a durable finish to protect the keychain from wear and tear.
- Unique Shapes: Experiment with different shapes and designs to make each keychain unique.
Access Our Database of over 16,000 Step-By-Step “Done-For-You” Plans
Small wood projects are a fantastic way to enhance your home with practical and beautiful items. Whether you’re building wooden coasters, a pen holder, tea light candle holders, or a wooden keychain, each project offers the opportunity to showcase your woodworking skills and creativity. Follow the steps and tips provided to ensure your projects are successful and rewarding. Happy woodworking!
Access Our Database of over 16,000 Step-By-Step “Done-For-You” Plans