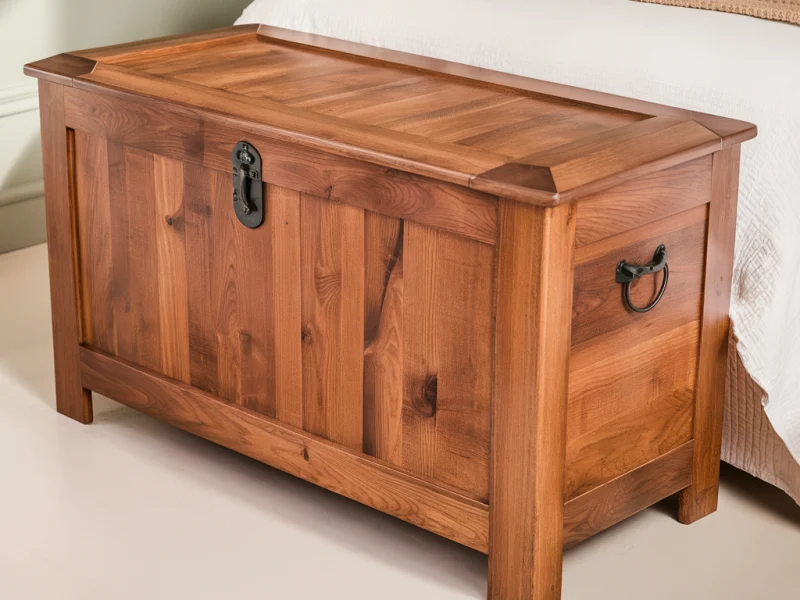
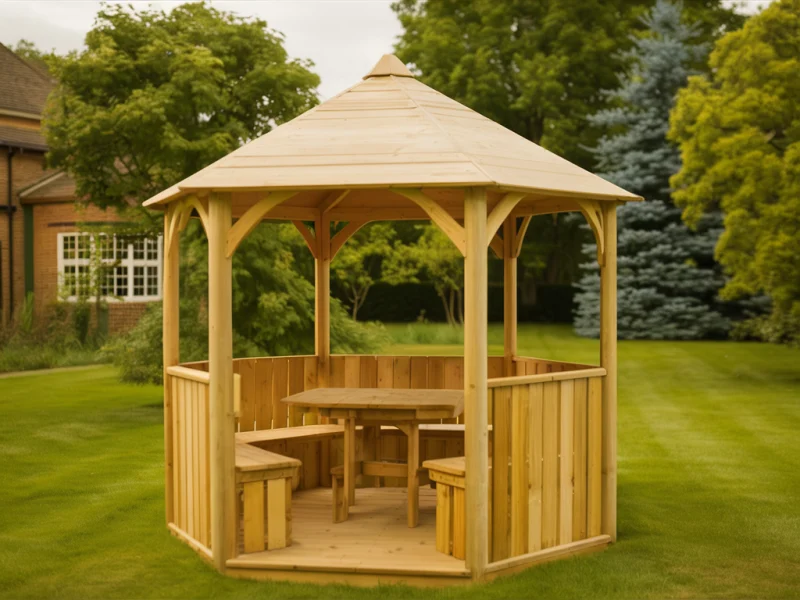
Advanced woodworking projects offer the opportunity to showcase your skills and creativity. Whether you’re crafting a Live Edge Dining Table to highlight the natural beauty of wood, building custom Wine Cellar Racks to store your collection elegantly, designing an Heirloom Jewelry Armoire with intricate details, or creating a comfortable and stylish Rocking Chair, these projects will challenge and reward you. Each project combines functionality with aesthetic appeal, pushing the boundaries of traditional woodworking.
Access Our Database of over 16,000 Step-By-Step “Done-For-You” Plans
🍽️🛠️Live Edge Dining Table: Natural Beauty
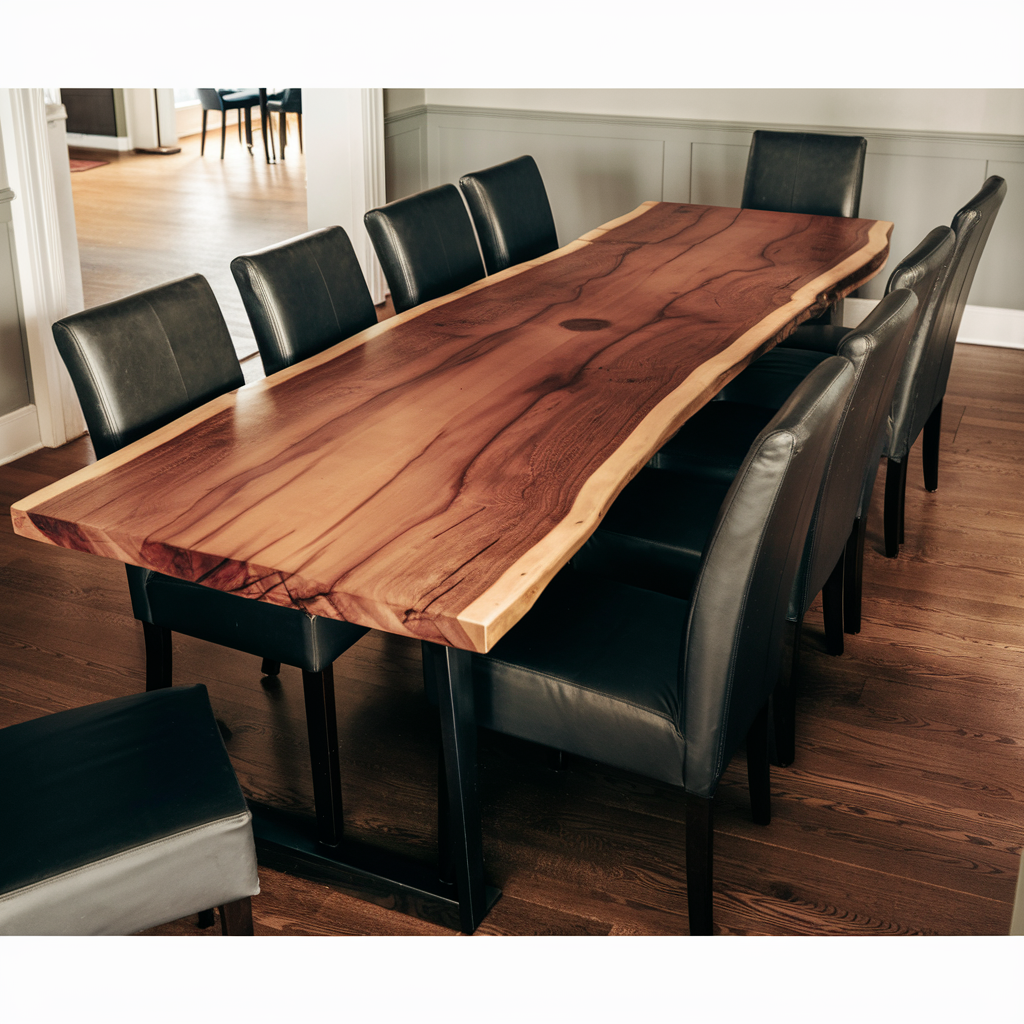
Why Build a Live Edge Dining Table
A Live Edge Dining Table is a beautiful way to bring the natural world into your home. This project highlights the raw edge of the wood, preserving its natural form and creating a stunning centerpiece for your dining area. The unique grain patterns and natural edges make each table one-of-a-kind, offering a perfect blend of rustic and modern aesthetics.
Steps to Success
- Select the Wood: Choose a large slab of wood with a beautiful grain pattern and natural edges, such as walnut or maple.
- Prepare the Slab: Remove any bark and sand the surface to smooth out imperfections while maintaining the natural edge.
- Flatten the Slab: Use a router sled to ensure the slab is perfectly flat and level on both sides.
- Fill Cracks and Voids: Use epoxy resin to fill any cracks or voids, enhancing the wood’s durability and appearance.
- Sand the Slab: Sand the entire slab with progressively finer grits of sandpaper to achieve a smooth finish.
- Apply Finish: Apply a high-quality wood finish, such as polyurethane or tung oil, to protect the wood and bring out its natural beauty.
- Build the Base: Construct a sturdy base from metal or wood, ensuring it complements the slab and provides stable support.
- Attach the Slab to the Base: Secure the slab to the base using appropriate hardware, ensuring it is centered and level.
Pro Tips
- Grain Selection: Choose a slab with an interesting grain pattern to enhance the table’s visual appeal.
- Epoxy Work: Use clear or tinted epoxy resin to fill cracks, and sand it smooth for a seamless finish.
- Durable Finish: Apply multiple coats of finish, sanding lightly between coats, to ensure maximum protection and shine.
Access Our Database of over 16,000 Step-By-Step “Done-For-You” Plans
🍷🛠️Wine Cellar Racks: Elegant Storage

Why Build Wine Cellar Racks
Custom Wine Cellar Racks offer an elegant and efficient way to store your wine collection. Building your own racks allows you to design a storage solution that fits your space perfectly and showcases your collection beautifully. This project combines practical storage with sophisticated design, making it a valuable addition to any wine enthusiast’s home.
Steps to Success
- Design the Racks: Plan the dimensions and layout of your wine racks, considering the size of your collection and available space.
- Select the Wood: Choose a durable wood like oak or cedar that can withstand the weight of the wine bottles.
- Cut the Pieces: Cut the wood to size for the sides, shelves, and supports of the racks.
- Assemble the Frame: Assemble the frame using wood glue and screws, ensuring all joints are secure and square.
- Install the Shelves: Attach the shelves to the frame, spacing them to accommodate the height of the wine bottles.
- Sand and Finish: Sand all surfaces smooth and apply a finish to protect the wood and enhance its appearance.
- Secure the Racks: Install the racks in your desired location, ensuring they are level and securely fastened to the wall or floor.
Pro Tips
- Consistent Spacing: Ensure the shelves are evenly spaced to provide uniform support for the wine bottles.
- Ventilation: Design the racks to allow for proper ventilation, preventing mold and mildew.
- Label Holders: Consider adding label holders to the racks for easy identification of your wine collection.
Access Our Database of over 16,000 Step-By-Step “Done-For-You” Plans
💎🛠️Heirloom Jewelry Armoire: Timeless Elegance
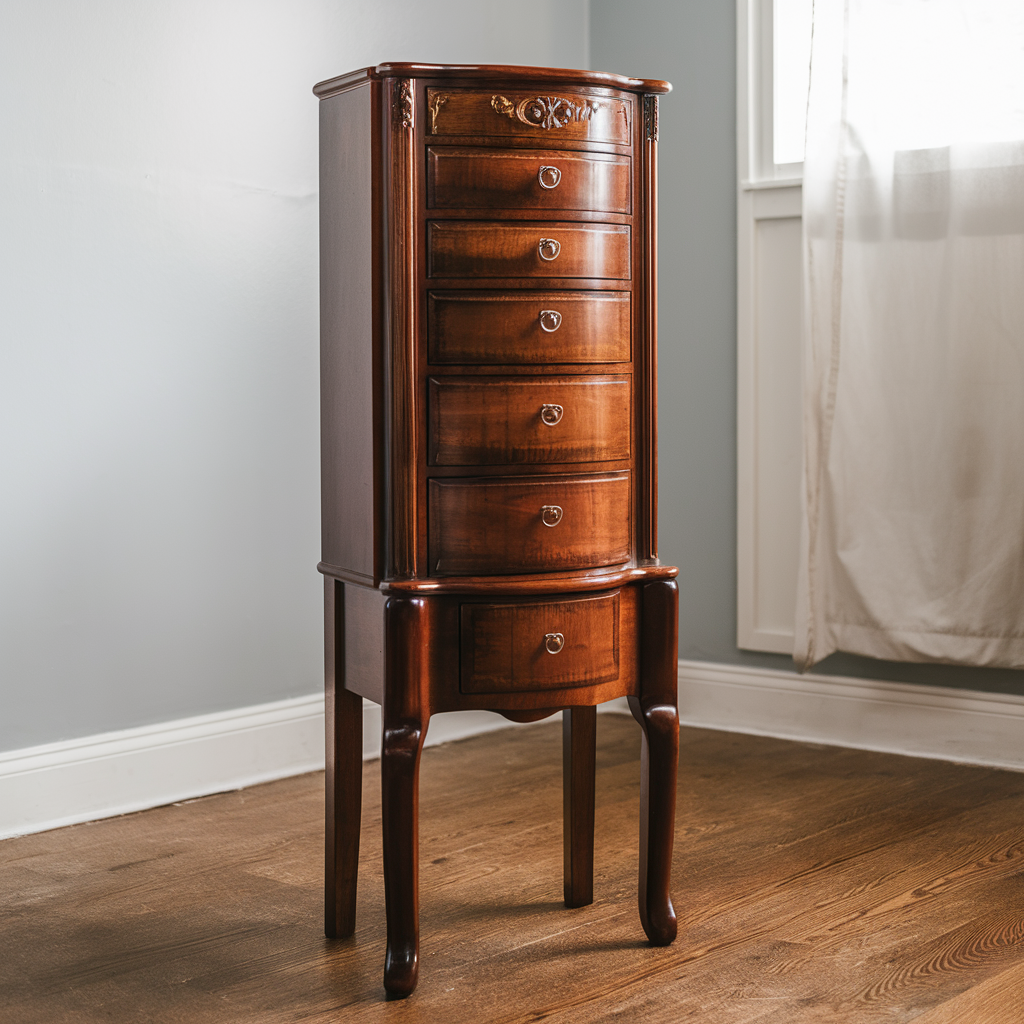
Why Build an Heirloom Jewelry Armoire
An Heirloom Jewelry Armoire is a beautiful and functional piece that can be passed down through generations. This project allows you to create a spacious and intricate storage solution for jewelry and other treasures. The detailed craftsmanship and elegant design make it a stunning addition to any bedroom or dressing area.
Steps to Success
- Design the Armoire: Plan the dimensions and layout of your armoire, including drawers, compartments, and hanging spaces.
- Select the Wood: Choose a high-quality hardwood like cherry or mahogany for its beauty and durability.
- Cut the Pieces: Cut the wood to size for the frame, doors, drawers, and internal compartments.
- Assemble the Frame: Assemble the frame using wood glue and joinery techniques such as dovetails or mortise and tenon.
- Build the Drawers: Construct the drawers and fit them with smooth-operating slides.
- Install the Compartments: Install the internal compartments and dividers to organize jewelry and other items.
- Attach the Doors: Attach the doors to the frame using high-quality hinges, ensuring they are aligned and operate smoothly.
- Finish the Armoire: Sand all surfaces smooth and apply a finish to enhance the wood’s natural beauty and protect it from wear.
Pro Tips
- Intricate Joinery: Use advanced joinery techniques for added strength and elegance.
- Felt Linings: Line the drawers and compartments with felt to protect delicate jewelry.
- Elegant Hardware: Choose elegant hardware such as brass handles and hinges to complement the armoire’s design.
Access Our Database of over 16,000 Step-By-Step “Done-For-You” Plans
🪑🛠️Rocking Chair: Comfort and Style
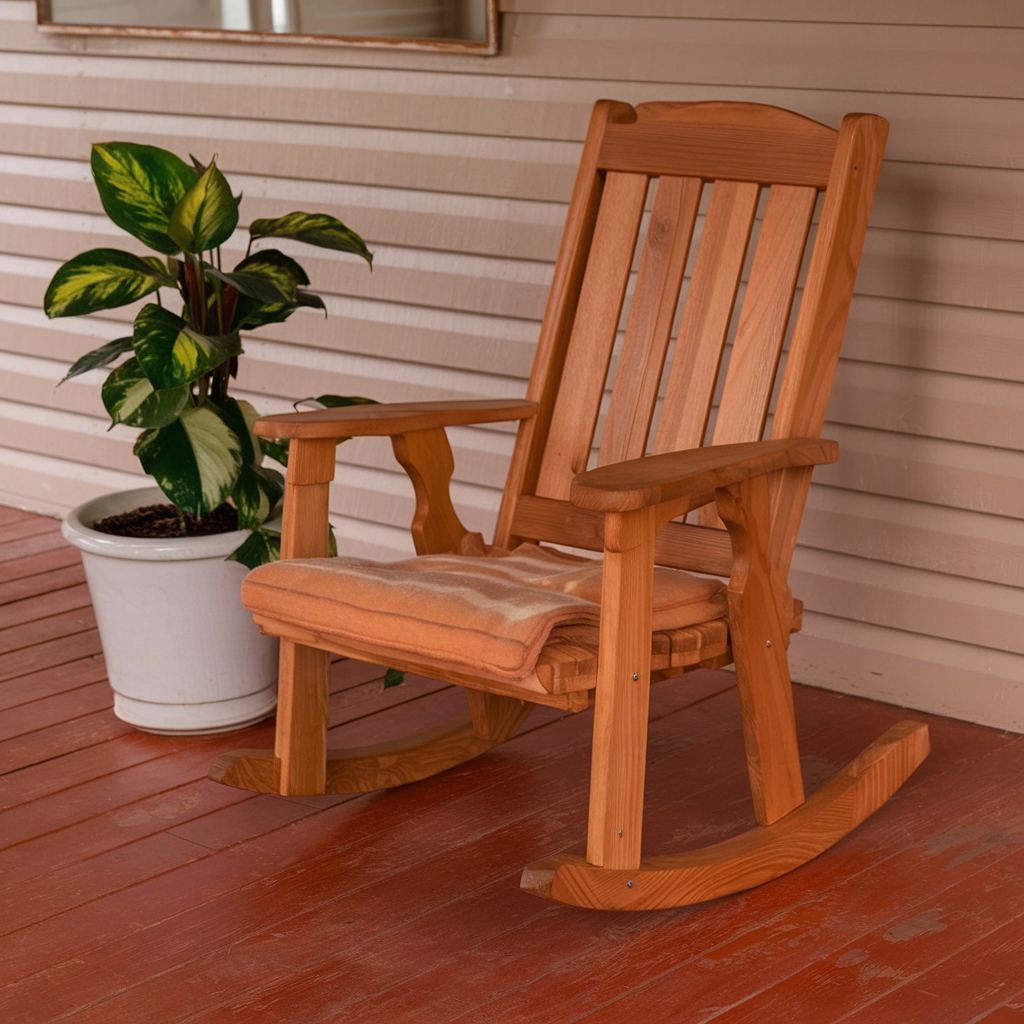
Why Build a Rocking Chair
A Rocking Chair is a timeless piece of furniture that combines comfort with classic design. Building your own rocking chair allows you to focus on ergonomic curves and intricate joinery, creating a piece that is both functional and beautiful. This project is perfect for enhancing your living room, porch, or nursery with a handcrafted touch.
Steps to Success
- Design the Chair: Sketch a design that includes the curved rockers, seat, backrest, and armrests, ensuring ergonomic comfort.
- Select the Wood: Choose a strong and flexible wood like oak or ash that can withstand the stresses of rocking motion.
- Cut the Pieces: Cut the wood to size for the rockers, legs, seat, backrest, and armrests.
- Shape the Rockers: Use a band saw and sander to shape the rockers, ensuring they have a smooth and consistent curve.
- Assemble the Frame: Assemble the frame using wood glue and joinery techniques, such as mortise and tenon, for added strength.
- Attach the Rockers: Secure the rockers to the legs of the chair, ensuring they are aligned and balanced.
- Install the Seat and Backrest: Attach the seat and backrest, ensuring they are comfortable and securely fastened.
- Finish the Chair: Sand all surfaces smooth and apply a finish to protect the wood and enhance its appearance.
Pro Tips
- Ergonomic Design: Pay close attention to the ergonomics of the chair to ensure maximum comfort.
- Smooth Rockers: Ensure the rockers are smooth and free of any imperfections that could affect the rocking motion.
- Sturdy Joinery: Use sturdy joinery techniques to ensure the chair can withstand regular use without loosening.
Access Our Database of over 16,000 Step-By-Step “Done-For-You” Plans
Advanced woodworking projects like the Live Edge Dining Table, Wine Cellar Racks, Heirloom Jewelry Armoire, and Rocking Chair offer an opportunity to showcase your skills and create stunning pieces for your home. These projects combine intricate designs with practical functionality, resulting in beautiful and durable furniture. By following the detailed steps and incorporating pro tips, you can bring these advanced projects to life and enjoy the satisfaction of handcrafted elegance.
Access Our Database of over 16,000 Step-By-Step “Done-For-You” Plans

